
Donation Robot V1
The Donation Robot V1 was presented by Makersville’s STEAM Party and Carnival.
Parts
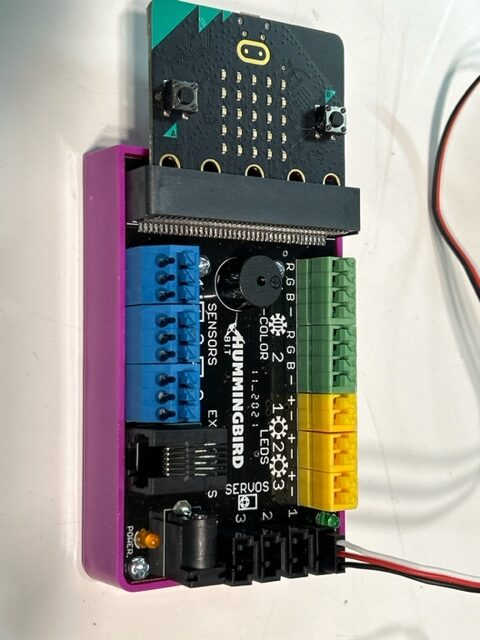
- Microbit board
- Hummingbird bit controller
- Red LED
- Green LED
- Yellow LED
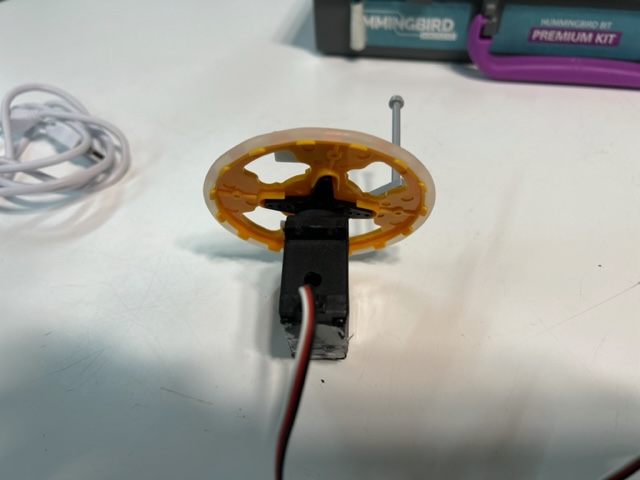
- Rotation Servo with cross shaped Servo horn
- Servo wheel
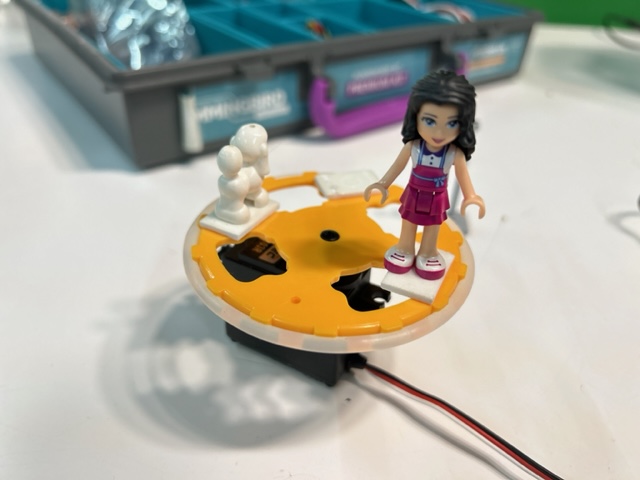
- Small Lego figure like a dog or similar.
- Light sensor.
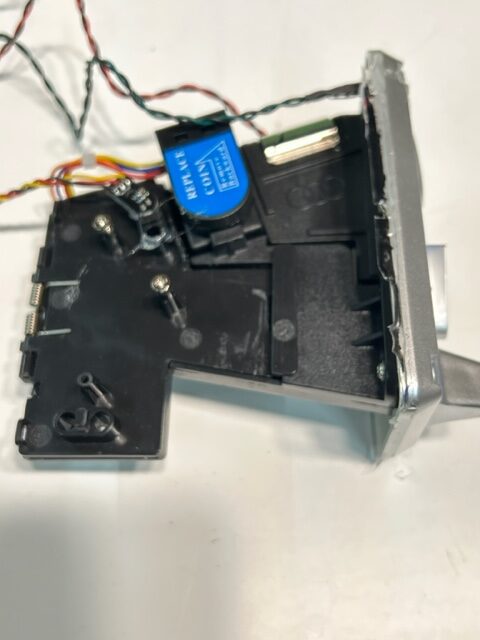
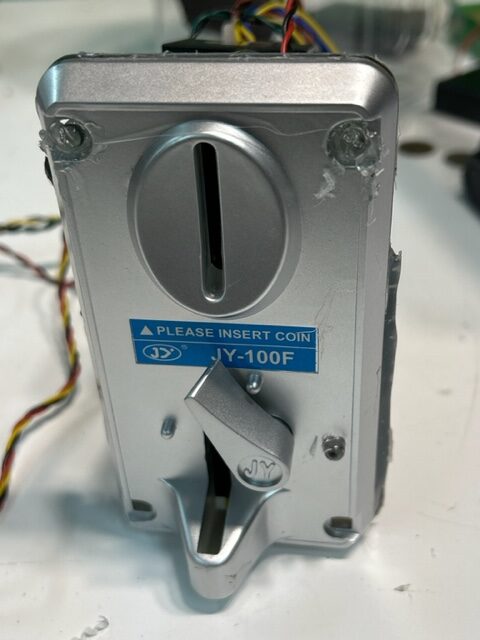
- CPU coin selector or similar coin mechanism.
Assembly instructions
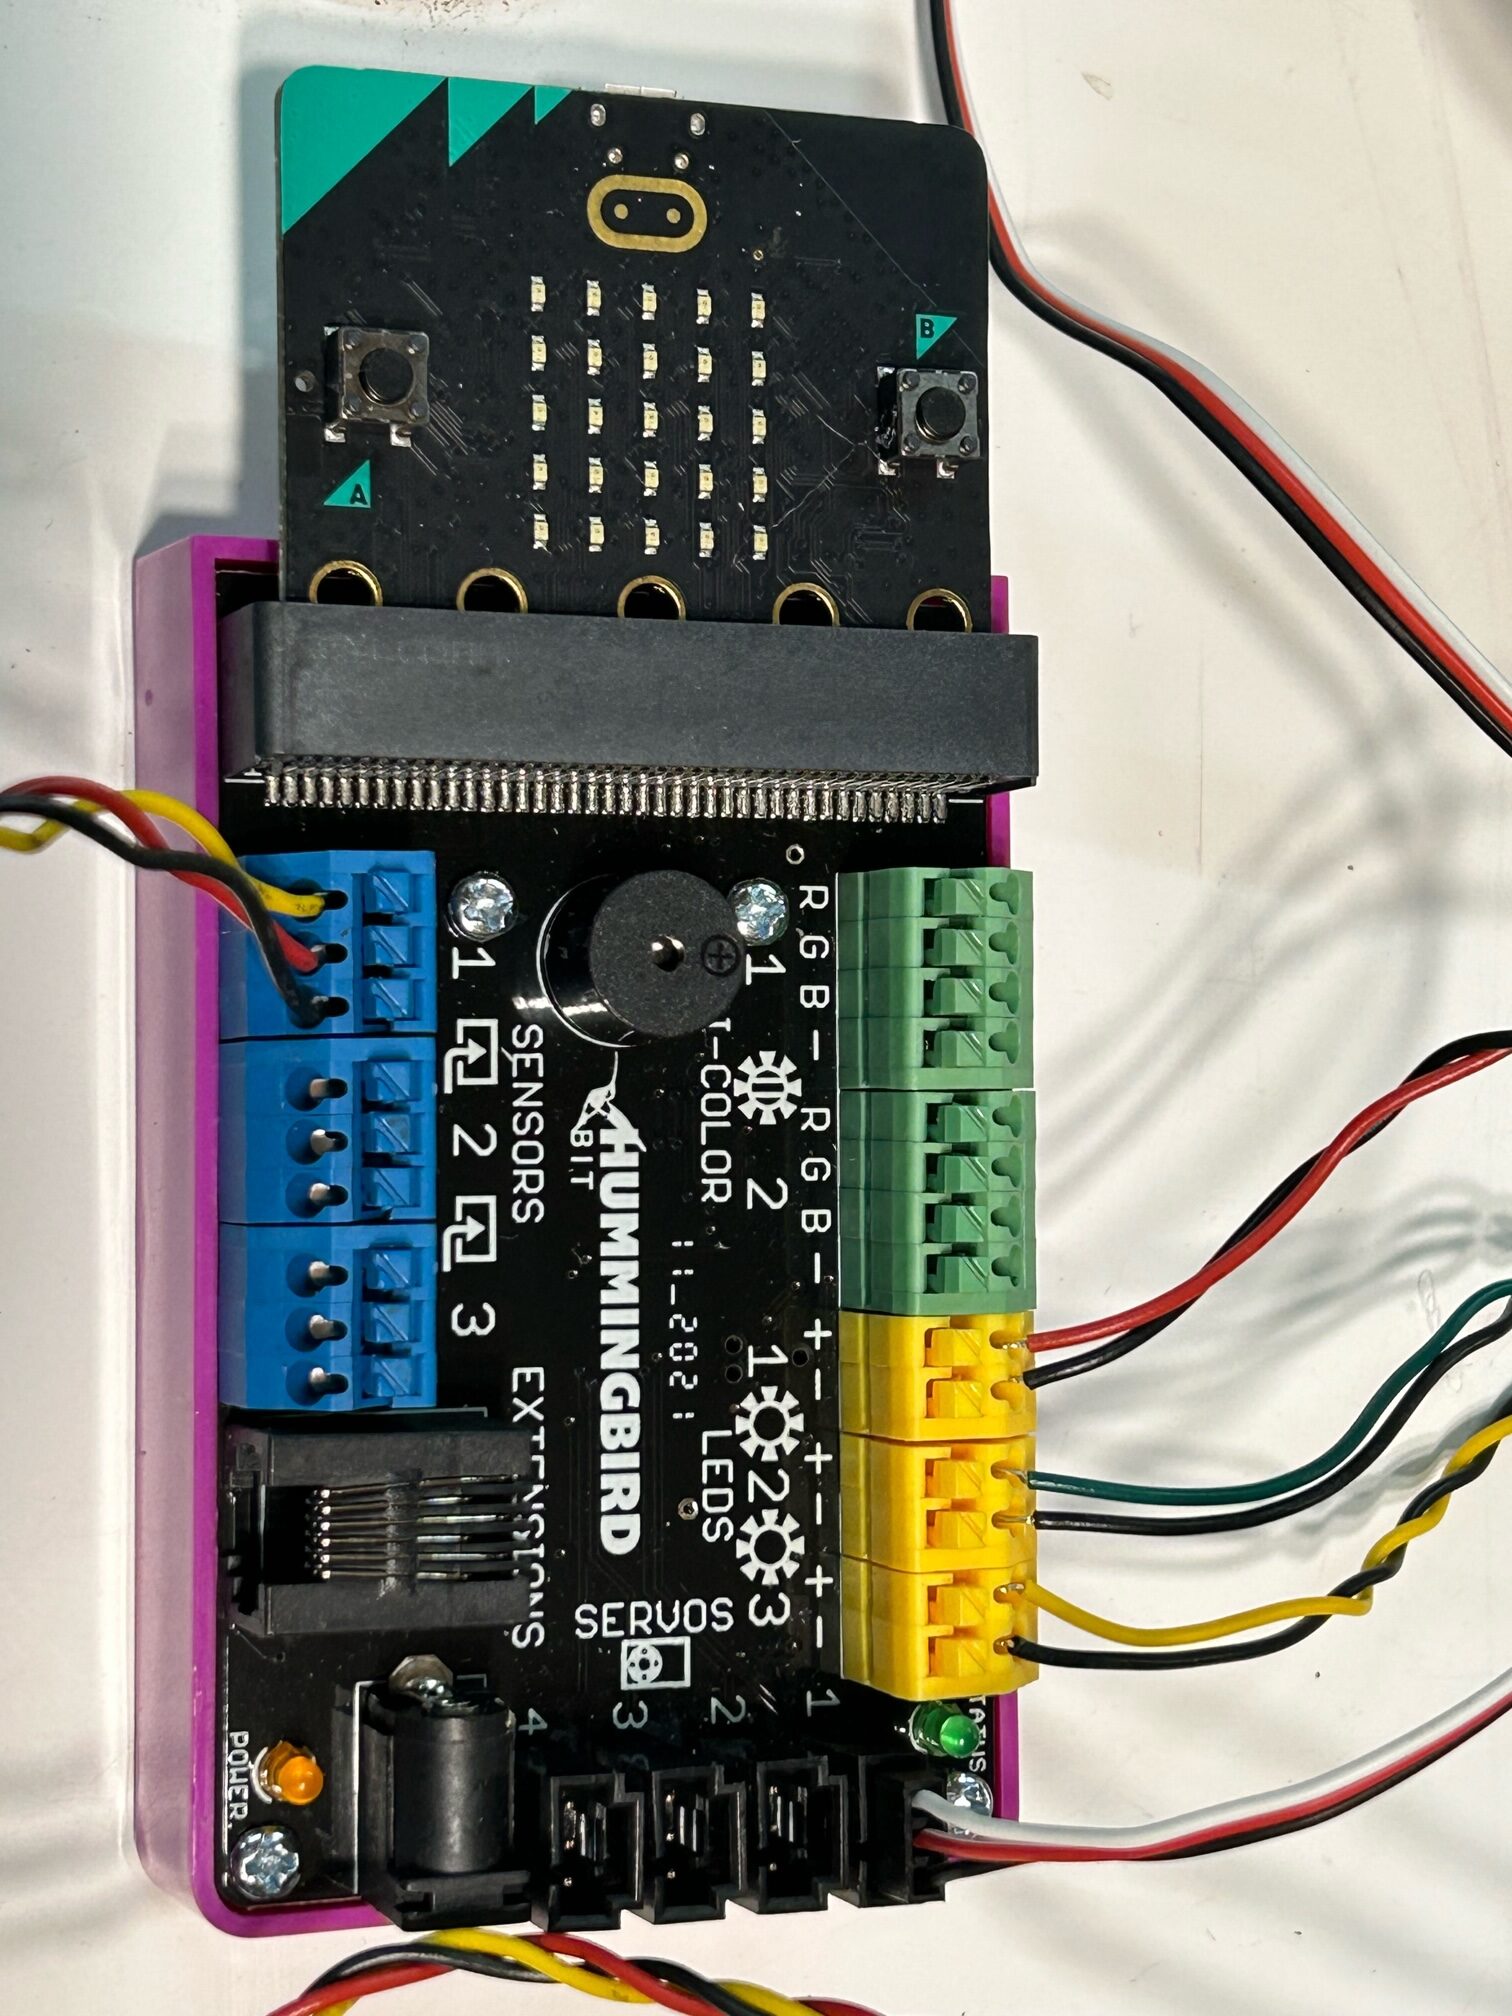
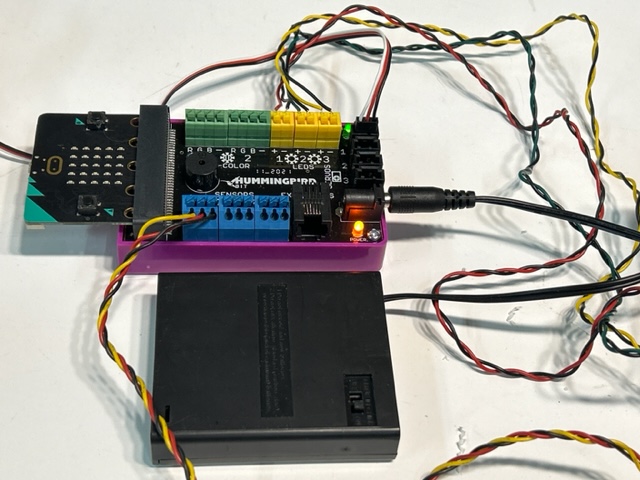
Push, the microbit board into the hummingbird controller edge connector, so that the push buttons are facing upwards.
Attach the SERVO wheel and SERVO horn to the rotation servo using the small black screw that comes with the SERVO, making sure that the servo horn fits into the slots of the servo wheel.
Next plug the rotation servo into servo slot 1 of the hummingbird bit controller making sure the white wire is on the “S” side.
Put the two leads for the red LED into LED block number one on the Hummingbird board, making sure the black is on the minus side.
Repeat with the green LED in block number two on the Hummingbird board, again making sure the black is on the minus side.
Repeat with the yellow LED in block number two on the Hummingbird board, again making sure the black is on the minus side.
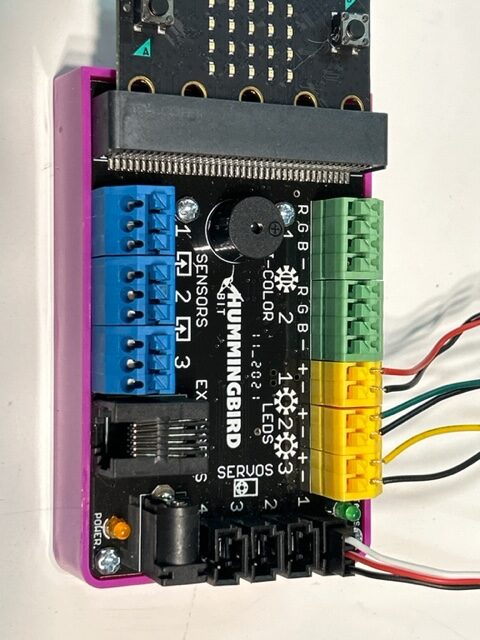
Attach the three leads of the light sensor to number 1 sensors connection block on the hummingbird board:
The yellow lead goes to “S”.
The red lead goes to “+” (middle).
The black lead goes to “-”.
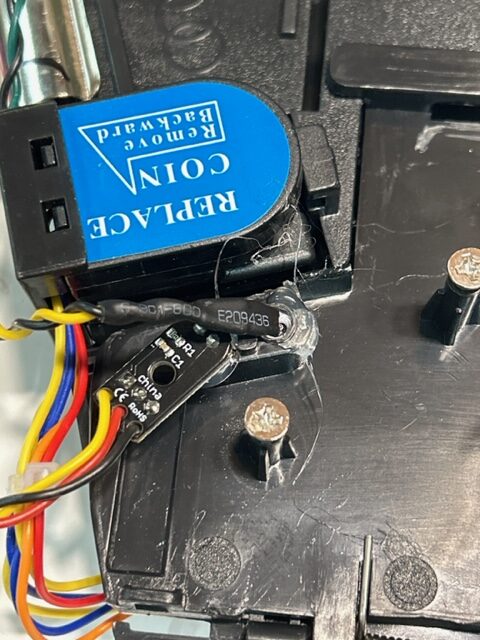
Remove all electronics from your CPU coin selector coin mechanism.
Using a small, drill bit, make two small holes, the same diameter as your LEDs.
use hot glue and glue in the red and the green LEDs into the holes that you just created.
Now, glue the yellow LED into one of the holes for the coin sensor and the light sensor into the other hole.
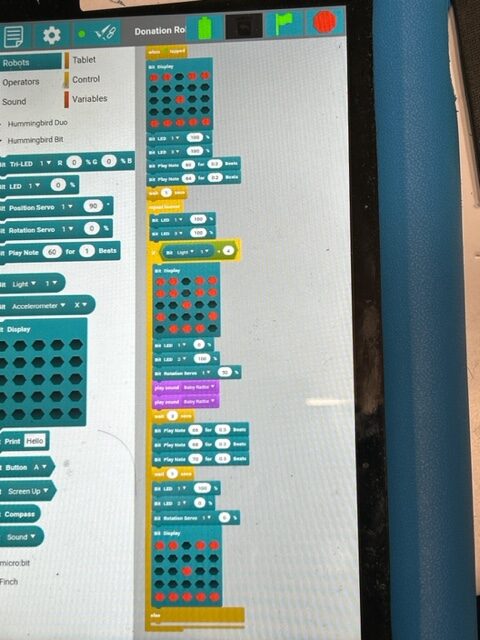
Turn on your Kindle. Download and install the Donation Robot program, or program it yourself using the pictures below.
Plug your power box into your Micro:bit / hummingbird board assembly and then turn it on.
Connect to the Kindle to the hummingbird by tapping the “Connect Device” button on the Kindle.
Tap the green flag on the Kindle to start the program.
Note that you MUST adjust the value of the “if Bit Light” in the Donation Robot program on the Kindle to ensure that the right amount of light will cause a coin to break the beam in the change mechanism and trigger the servo to turn.
Use a coin to test the robot and adjust the “if Bit Light” value as described above.
When it is adjusted correctly and the servo spins after a coin is put into the coin mechanism, then you can mount your robot in a suitable box, jar, or case!